Thursday, 13 March 2014

Installing and Using WebScarab

WebScarab is a proxy service which can be used to intercept communications between a user's browser and the server. This application can be used to modify requests and responses, this tool can be used to gain experience with altering data passed over a network to see the effects of manipulating it. This application is also useful for testing the security of your own web application because it provides insight regarding how you application could be attacked.

To install WebScarab the first thing you have to do is download the .jar file.

Here is a link to the one I used for this tutorial:


To run the application all you need to do is double click on the Executable Jar File you downloaded. From my experience the link above is the easiest method of running WebScarab, alternatives are typically convoluted processes.


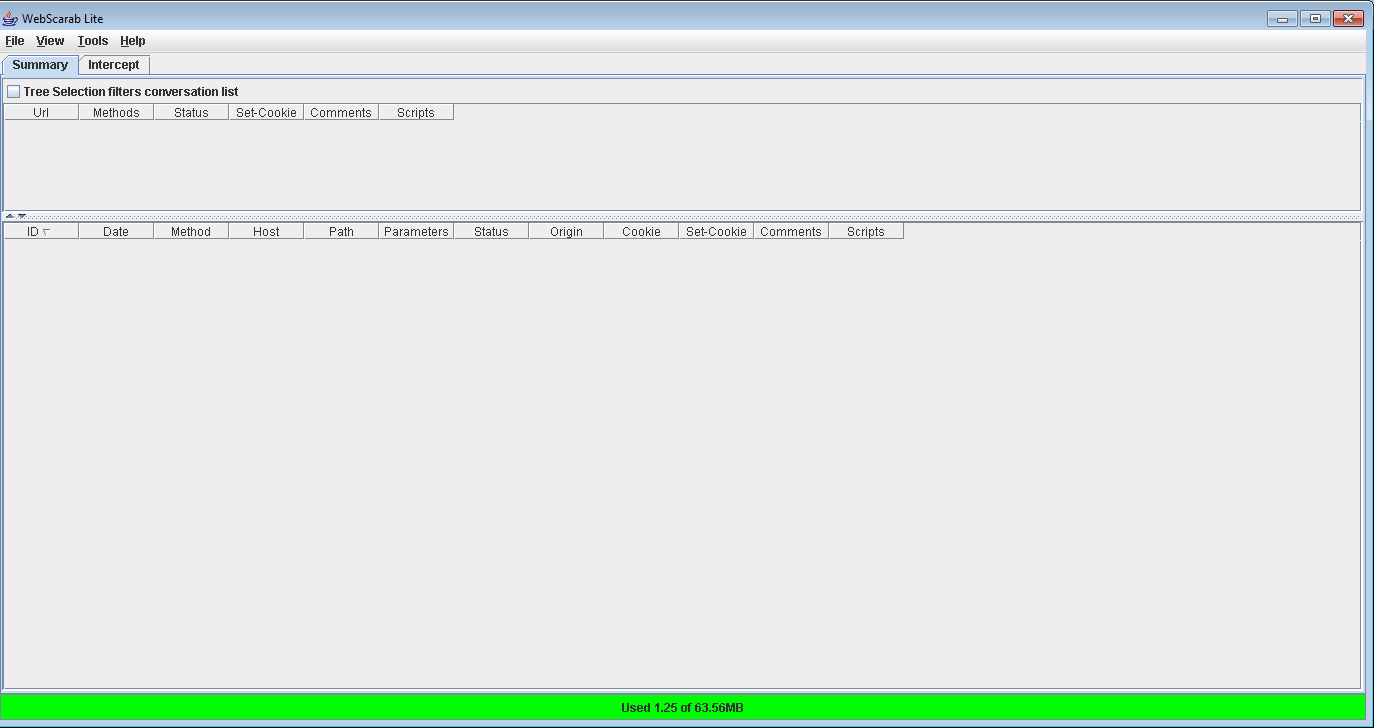
You should see a screen similar to the one below upon execution:


The next step is to your browser settings for at least one of your browsers (the changes will take effect on all browsers you have installed). 
For this tutorial I am using Internet Explorer to demonstrate this step. 


You can go to 'Tools' and select 'Internet Options' as shown below.


Then navigate to the 'Connections' tab and click 'LAN settings'.


Uncheck the checkboxes under the heading 'Automatic configuration' and select the 'Use a proxy server for your LAN' checkbox under the Proxy server heading. You should also specify the address as 'localhost' and port as '8008' then press the 'OK' button. As shown below.


Now you can visit a website, and you should see the contents of your WebScarab panel changing as you navigate through different websites (as shown below). If you receive an error message about your Proxy settings during this step, then you either configured your Proxy settings incorrectly or you already have a service running on the 8008 port. 


With various plugins and features of WebScarab you can easily send edit requests and gather additional information regarding a user's data over the network.

Once you are finished with the WebScarab application always make sure to change your internet settings back to their defaullts.


Tuesday, 25 February 2014

Getting Started with Tamper Data (Firefox extension)

The Tamper Data Firefox extension is a tool used to intercept and modify HTTP/HTTPs requests. This tool can be used by hackers to edit responses or view requests. This add-on also serves as a great tool for web developers to ensure they are susceptible to sercurity vulnerabilities which could potentially be exposed by a hacker using similar methods as what is used in this extension. Below I describe the process which one can use to install Tamper Data on FireFox:


Open FireFox browser and click ALT to open the toolbar menu at the top of your browser. Go to 'Tools' and then 'Add-ons'.You should see an interface similar to the one below. 


 In the search bar at the top type in 'tamper data 11.0' to search for the add-on. The add-on is shown in the screenshot below at the top of the results. Install the add-on.


Read the End-User License Agreement and then cllick "Accept and Install..."


Restart your browser when you get the green message that says to do so, so that the installation will take effect.


Now you are able to work with this extension to get a feel for how hackers can access or edit information sent between the browser and the server, so that you can prevent your own websites from being prone to such attacks. You can also take away a better understanding of why it can be very important not to have credentials passed between the browser and server without going to some measure to either encrypt the information or disguise it so that it is harder for a hacker to pinpoint and recognize.

Friday, 21 February 2014

Setting up WebGoat

Webgoat is an application that is designed to be vulnerable to hacking so that it can serve as a resource for users to practice hacking and learn how to prevent being hacked. Webgoat is created for ethical hackers so they can stay up to date on newer methods of hacking. It is also an excellent introduction tool for hacking web applications. 


Download the top link (zip file) for Windows operating system:
Once the zip has finished downloading extract the files whereveer you want, and they should appear as shown below. Click on the webgoat_8080 Batch file.


This will start the Apache Tomcat server which will be run on localhost and use port 8080 by default, and you should see content in your terminal window that has opened as shown below. 

 You can visit the local web goat application by opening a browser and navigating to: http://127.0.0.1:8080/WebGoat/attack
Once you arrive there you will be asked for login credentials you can use one the following to login information:
Username: guest
Password: guest

Then you should see an interface as shown below, you can click on 'Start WebGoat' to begin the lessons:

 Now you have access to WebGoat's various tools and lessons for you to explore.

Saturday, 30 November 2013

How to Install Drupal on LAMP

Step 1. Start your Linux server and login. 


Step 2. Enter the following command to download Drupal to your server:


1  “wget http://ftp.drupal.org/files/projects/drupal-7.21.tar.gztar -xvzf drupal-7.21.tar.gz”

Step 3. Enter the following command:“tar -xvzf drupal-7.21.tar.gz”

Step 4. Enter the following command: “sudo mkdir /var/www/drupal2”

Step 5. Enter the following command:“sudo mv drupal-7.21/* drupal-7.21/.htaccess /var/www/drupal2”


Step 6. Enter the following  command:
 “sudo mkdir /var/www/drupal2/sites/default/files”
Step 7. Enter the following command:“sudo chown www-data:www-data /var/www/drupal2/sites/default/files”


Step 8. Enter the following command “sudo cp /var/www/drupal2/sites/default/default.settings.php /var/www/drupal2/sites/default/settings.php”


Step 9. Enter the following command “sudo chown www-data:www-data /var/www/drupal2/sites/default/settings.php”

Step 10. Enter the following command “mysqladmin -u root -p create drupal2”
Step 11. Enter the following command Sudo chown –R www-data:www-data /var/www”

Step 12. Select standard and then click save and continue.

Step 13. Select English and then click save and continue.
Step 14. Enter drupal2 as database name and root as username.
Step 15. Wait for the installation to complete.
Step 16. Enter the site name and your information.
Step 17. Your Drupal site should look like this.